
This will be a tutorial on how I went about rigging a spring for an enemy character. In it I will be walking through my process including using Pymel to speed things up. If you haven’t used pymel almost all of the things I’m doing can also be done using the same syntax as maya python. It should be safe to say that this tutorial is recommended for people with at least intermediate python knowledge, but I’ll be walking through it every step of the way so you should be able to follow along regardless of skill level
And if you prefer a video compared to a blog post here is the video tutorial I made
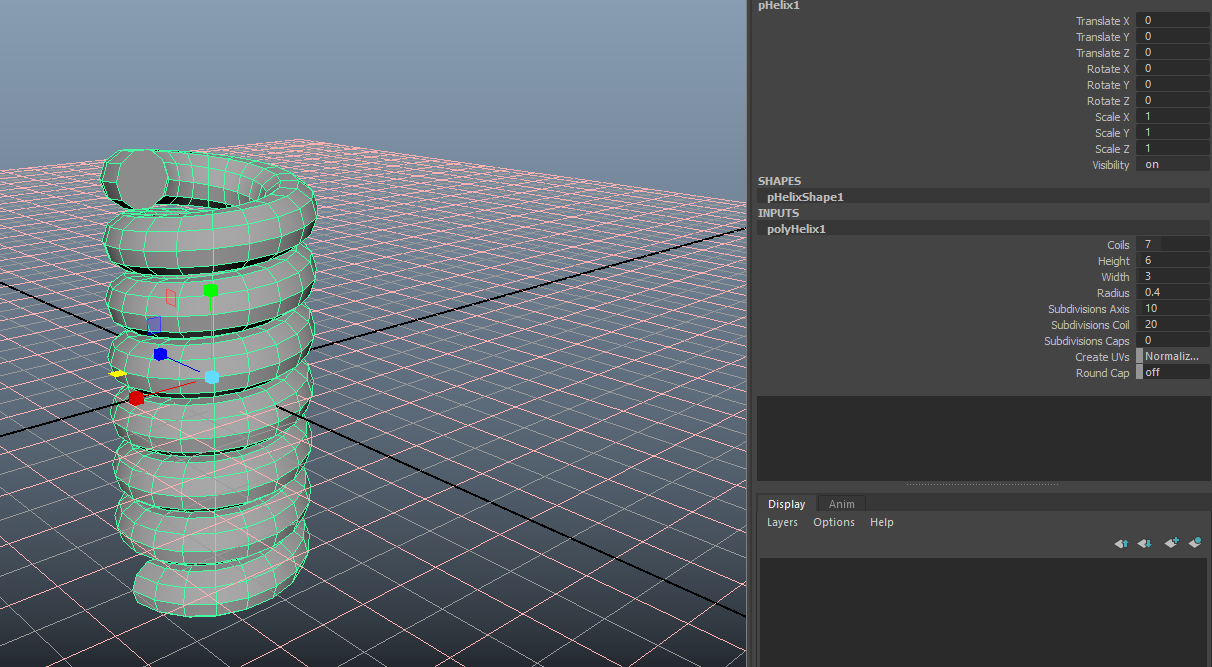
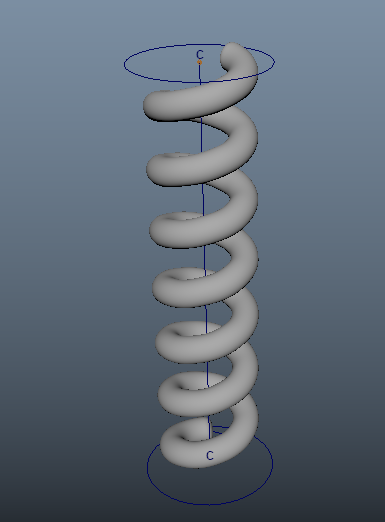
Make a helix primitive
Coils - 7
Height - 6
Width - 3
Radius - na
Axis - 10
Coil - 20
Caps - na
Select bottom outer vert
Shift double click top outer vert

Curve script:
#get/store selection
sel = pm.ls(sl=1)
#Loops through selection of verts
for s in sel:
#Gets the location of selection
x = pm.xform(s, q=1, ws=1, t=1)
#if the loop is the first index creates the curve at the location
if s == sel[0]:
crv = pm.curve(p=[x[0],x[1],x[2]], d=1)
#If it's any other index it gets the location and adds a curve point
else:
crv = pm.curve(crv, p=[x[0],x[1],x[2]], a=True)
#If you want the spring to go from top to bottom run this line
#Or don't if you want it to run from bottom to top
pm.reverseCurve(crv, ch=1, rpo=1)
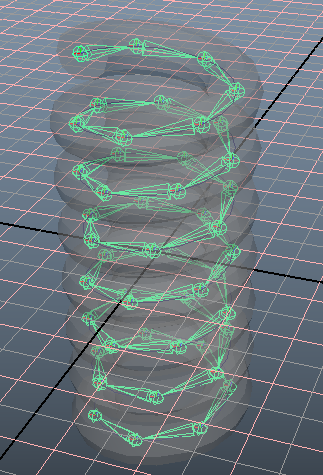
Once you have your curve scale it on X & Z to .75

The goal is to get it to the center of the spring.
Joint Script:
#Incrimenting variables
Count = 0
cvInc = 0
#List for storing CVs
cvList = []
#Clear selection
cmd.select(cl=1)
#Stores the CVs in a list
cvList = crv.cv
#Creates joints at cv locations
for q in cvList:
#Incriments per CV
cvInc += 1
#For every 3rd CV it creates a joint to not create too many joints
#This is a higher resolution joint chain so you can modulate by a larger number
if cvInc % 3 == 1:
#Incriments for naming
Count +=1
#Gets the location of the CV
x = pm.xform(q, q=1, ws=1, t=1)
#Creates the joints
SpringJoint = pm.joint(n='Spring%s_Jt' % Count, r=1)
#Moves the joint to the cv location
pm.move(x[0],x[1],x[2], SpringJoint, a=1)
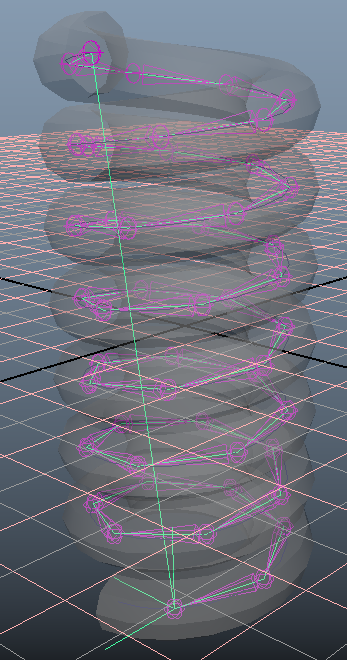
Your joints should connect like this.
Apply IK Spline Handle
Only Root on Curve checked
Two ways you can go about controlling it:
Method 1:
Add a joint to the top of the curve
Add a joint to the bottom of the curve
Add controllers to the top and bottom
Parent constrain the joints to the controllers
Smooth bind the control joints to the curve
Skin the bind joints to the spring with a heat map
The final result should look like this:


You can add more controller joints if you want more fine control of the spring
Method 2:
Add a joint to the top of the curve
Add controllers to the top and bottom
Parent constrain the top joint to the top controller
Put the top controller in a group
Center the group’s pivot so that it is the same as the controller
Aim Constraint the group to the lower controller
0 offset
Aim vector 0, -1, 0
Up vector 0,1,0
Constrain all
Set up “Stretch”
Create curve from top to bottom
Select curve and execute
pm.arclen(ch=1)
Select curve
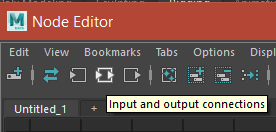
Open the Node Editor
Click the “Input and output connections” button
Expand the curveInfo node
Make a multiplyDivide node
Set to divide in attribute editor
Connect arclength to input 1X
Copy the value of the Arc Length and input it as input 2X
Connect output X to Scale Y of your controller joint

Put a cluster at the top of the curve and at the bottom
Point constrain the clusters to the corresponding controllers

So this result is more realistic for a spring, it just is more complicated to set up